This is the start of an inspiration patch, where I hope that fellow scrappers and creators will come and find some inspiration, or even leave some inspiration for me.

Monday, 31 October 2022

Anniversary Card - 49andMarket

 Hello Crafty Friends

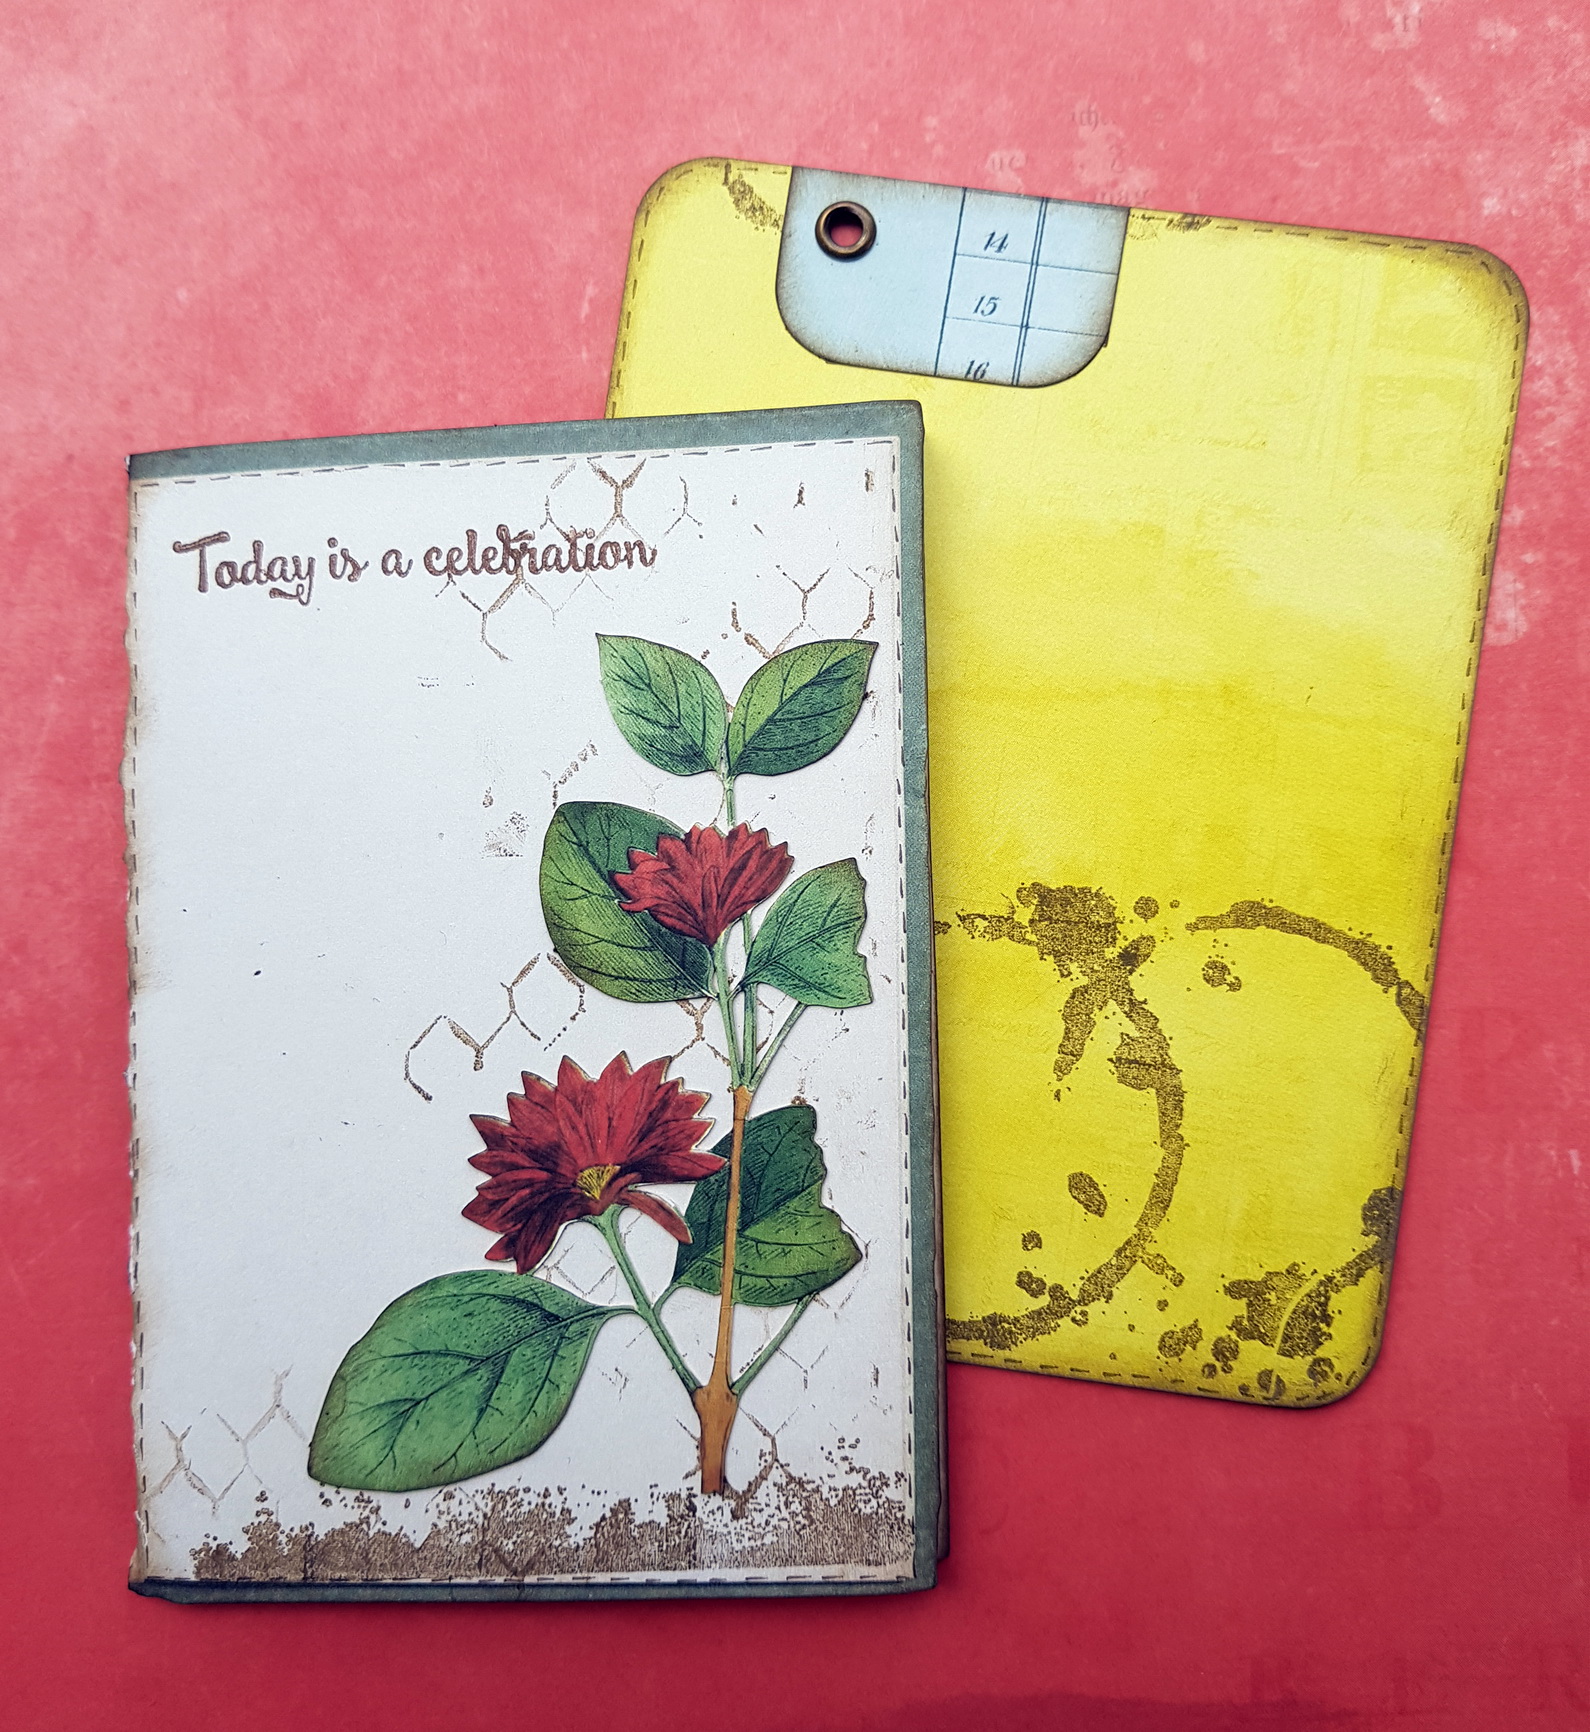
Today I am sharing an anniversary card for my parents, that recently had their 55th anniversary.

I used the 49andMarket Curators Botanical and Vintage Artistry Naturalist. These are really 2 of my most favourite collections.


I layered up some old graph paper, along with various bits and bobs from the two 49andMarket collections. I then also added some Penelope Dee chipboard pieces.

This is what the inside looked like.


There were a number of us to sign and leave messages, so I created several places for this.

On the right hand side I created a pocket, which held a card and a tag.

My parents were really thrilled with the card and that obviously made me very happy! :-)

Here is a pic of the old foggies too! :-)


It's so rare these days that people stay married for so many years! It surely is an achievement and a wonderful milestone.

Thanks so much for stopping by!

I hope you have a fabulous day!

Denise x


Sunday, 30 October 2022

Salt Water Therapy Layout - Penelope Dee Tidal Florals

 Hello Everyone

It has been a very long time since I have posted on my blog and I hope to say that I am back.

Life and COVID happened, along with buying a shop and running it with my sister. So yes, life has been busy but I have been crafting and creating all the way, in the background and also for classes.

So today I am sharing a DT project for Penelope Dee, using the gorgeous Tidal Florals collection.


The photo was from a little holiday, 3 weeks back at Salt Rock. It was such a lovely holiday and such needed sustinence for my soul.


I did some watercolour effects on the background and then added the photo, along with chippies, twine string and fussy cut bits from the collection.

I wanted to keep the focus on the photo though and so kept the cluster down the right-hand side of the photo.


I love the twine string in between, it added texture and really gave a beachy feel.

I coloured the chippies with Dsitress Oxide - Peeled Paint, Lucky Clover and Bundled Sage.


Thanks ever so much for stopping by. I really hope you will pop back soon and check out soooo many projects that I have lined up to share.

Have a beautiful Sunday!

Denise x


Friday, 5 June 2020

BoBunny Brads and Handmade Flowers

Hello Everyone

Apologies, for being missing in action for a few months. Life has been crazy, as you all will know, but hopefully we are getting back to some new normality!

Today I am going to share some cards with you and also have some fun with brads.
These are little bits that we often forget about and yet are really versatile and cute.

Time and Place_Brad Flowers_Denise_29 May 01

So to start off, I made flowers and leaves by using BoBunny Stamps. I embossed them and then watercoloured them and added brads to the centres. This really was so much fun and I created a whole lot more than I actually needed.

Time and Place_Brad Flowers_Denise_29 May 02

Time and Place_Brad Flowers_Denise_29 May 03

I then went about making the cards, using these flowers and leaves, some lace and other Time & Place bits and bobs.

Time and Place_Brad Flowers_Denise_29 May 04

I also used brads to create and secure the bows for these cards.

Time and Place_Brad Flowers_Denise_29 May 05

I cannot tell you how many brads I have in my stash and I can tell you that I am really excited to get stuck in and use even more for flowers and cards.

How many brads do you have in your stash, just waiting to be used?

Thanks so much for stopping by my blog today and we really hope to see you back tomorrow. 

Have a beautiful day!
Denise x

BoBunny Supplies:
Patterned Papers: January, July, October / Time & Place
Cardstock: Evergreen Dot
Noteworthy: Time & Place
Brads: Family Heirlooms, Time & Place, Various
Stamps: Simply Flowers, Flower Garden, Doodle Blooms


Monday, 2 March 2020

Memory Mini Album - FabScraps - Wild and Free

Hello Everyone

I hope that you had a good weekend and got some time to relax and craft a little.

I crafted up a storm and was happy to get projects completed and posted to the various teams.

Today, I am sharing a mini album that I made back in December for FabScraps, using the awesome Wild and Free collection. It is also up here on the FabScraps blog.


If you would like to see more details, please pop over to the FabScraps blog.

Here is another little teaser..


These papers are just gorgeous and after making 2 mini albums, I literally do not have any papers left.

I will share the other album with you tomorrow.

I also have a tutorial below, that is a step by step on how to create the above album.

For This Project You Will Need:
  • FabScraps Wild and Free Collection paper pack: PP 120
  • FabScraps Chipboard: DC120 002
  • FabScraps Protea Album: DC120 001
  • Various word stamps: BoBunny & Penelope Dee
  • Leaf stamp: Penelope Dee
  • Laser Cut chipboard pieces: BoBunny
  • Tim Holtz Distress Oxide Ink: Vintage Photo, Seedless Preserve, Peeled Paint, Bundled Sage, Forest Moss
  • Versafine Crimson Red Ink
  • White Contour Liner: Pentart
  • Ranger Dimensional Pearls: Wild Plum & Butterscotch
  • Nuvo Crystal Drops: Olive Branch
  • Various feathers
  • White Gel Pen
Instructions:
  1. For the album cover. Use a soft brush and the various distress oxide inks to colour the various elements of the cover.
  2. Measure and cut a round circle from the patterned papers to adhere to the circle part of the album cover, as a backing. Splash with watered Vintage Photo distress ink and adhere once dry.
  3. Colour the Memory last cut chipboard piece with Vintage Photo distress oxide ink and adhere to the cover.
  4. Add the various dimensional pearls, crystal drops and white contour liner to the flowers and leaves, as per the photos.
  5. To the backside of the album cover, add the fussy cut zebra, as per the photos.
  6. For the inside pages, cut various squares from the patterned papers and adhere – 19cm x 19cm. Use the off-cuts as matting for the photographs. (as per the photo’s). Ink all edges with Vintage Photo distress oxide ink.
  7. Fussy cut various flower clusters and bits and pieces from the patterned papers, to use as decoration.
  8. Adhere the various fussy cut pieces, die-cuts and feathers to each album page. Layer and raise some of the elements.
  9. Colour the chipboard words with vintage photo oxide ink and adhere.
  10. Add sentiment and leaf stamping with Versafine Crimson Red ink, as per the photo’s. Add white gel pen highlights to the leaf stamping.
  11. Create a small booklet, one fold, for the last page of the album, for multiple photo’s. Size dependant on the photo’s used. Ink all edges with Vintage Photo distress oxide ink.
  12. All Done!

Thanks ever so much for stopping by!
Have a fabulous day!
Denise x

Friday, 21 February 2020

Vintage Envelope Folio - BoBunny - Family Heirlooms

Hello Everyone

Hey hey its Friday!!! LOL

I can't wait for the weekend to begin, so that I can get into some crafting, as well as some rest and relaxation! ;-)

Yesterday, I was up on the BoBunny blog here, with a vintage envelope folio.

I can't tell you how much I enjoyed making this project and have made some more since then.

Here is a little peek.

Family Heirlooms_Vintage Envelope Folio_Denise_19 Feb 03

Please pop over to the blog to see more details.

Patterned Paper: Family Heirlooms, Keepsakes, Pedigree, Trinkets, Generations, History, Documented, Lineage, Traditions/ Family Heirlooms
Stamps: Garden Grove, Family Heirlooms, Of Times Past, Newsprint
Washi Tape: Family Heirlooms

Thanks so much for stopping by!
Have a fabulous day and weekend!
Denise x

Wednesday, 19 February 2020

My Best Pal Mixed Media Layout - Fabscraps - C119

Morning Everyone

Today I am sharing a layout that was created a while back for FabScraps, using the very cute C119 Spilt Milk collection.

I was up on the FabScraps blog here also.


I created my own handmade flowers from FabScraps cardstock and just love how they turned out too.


I just love these photo's of my son and our dog Blossom, at the time.

He was about 7 and she was a few months old.
They played so rough, but loved each other so much!

Sadly she passed away at 18 months. It was tragic!

For This Project You Will Need:
  • FabScraps Spilt Milk Collection: C119 002, 003, 008
  • FabScraps Stencil: DS118 - Dogtooth
  • FabScraps Chipboard: DC119 003
  • FabScraps Cardstock – Navy, Cream, White and Green
  • Tim Holtz Distress Oxides: Faded Jeans, Peeled Paint, Clover, Hickory Smoke, Black Soot, Candied Apple
  • Small yellow beads, silver micro beads
  • Leaf Stamp
  • Leaf die, Various sized flower dies
 Instructions:
  1. Die Cuts:
  • Cut various sized flowers from navy, white and cream FabScraps cardstock. Layer and stick these together and add yellow beads and silver micro beads to the centres.
  • Cut a number of leaves from the green FabScraps cardstock and ink the edges with Peeled Paint distress ink.
  1. Cut down 002 patterned paper to 29,5cmx29,5cm and adhere to the 003 patterned paper. Then tear a fairly wide strip, from almost corner to corner of the 008 patterned paper and adhere to the base, as per the photo.
  2. Stencil with Faded Jeans distress ink and the FabScraps stencil over the background, as per the photo.
  3. Stamp with Clover distress ink and the leaf stamp over the background, as per the photo.
  4. Adhere the photo’s onto a mat base of 003 patterned paper. Raise and adhere these as per the photo.
  5. Colour the chipboard pieces with Hickory Smoke distress ink and use Black Soot to darken the edges. Colour the heart with Candied Apple distress ink and also edge with Black Soot. Adhere to the page, as per the photo.
  6. Adhere the flowers and leaves, as per the photo.
  7. All Done!

Thanks so much for stopping by!

Have a fabulous day!
Denise x

Thursday, 6 February 2020

Wooden Heart - BoBunny - Count the Ways

Hello Everyone

We are in the month of love and so today I am sharing a Valentine's day project for BoBunny.

I am up here on the BoBunny blog.

I would love it if you popped over and had a look.

Count the Ways_Wooden Heart_Denise_22 Jan 04

I also have a video tutorial for this project too, which is on the BoBunny blog post.

BoBunny Supplies used:
Patterned Paper: Be Mine/ Count the Ways
Cardstock: Avocado Dot
Noteworthy: Count the Ways
Corazones: Hearts
Blossoms: Blush Zinnia
Pearlescent: Gold, Silver
Stickable Stencils: Love, Brocade
BoBunny transparent Gel

Thanks ever so much for stopping by!
Have a great day!
Denise x